Designing sections by using design templates
You can use design templates to build a consistent, high-quality UI, increase reusability, and reduce the effort involved in performing bulk layout changes.
A design template is a special type of section that contains predefined layouts and regions. Regions are dynamic layouts that act as a placeholder for users to map controls that are specific to the section to which the template is applied. You can apply a design template to any section, thereby eliminating the need to design a new layout or copy an existing layout for each section. When you edit a template, the sections using the template are automatically updated.
If you use templates to create sections, you can embed those sections in regular sections. You can also embed regular sections within a section that was created from a template. You can convert a section that was created from a template to a regular section, but you cannot undo the operation.
Pega 7.2.1 provided predefined templates to address the most frequently needed layout use cases. These templates were available for Pega Express only.
For Pega 7.2.2 and later, these templates are also available for use with Designer Studio. Additionally, you can create your own custom design templates.

Predefined design templates
Applying a design template
Apply a standard or custom design template when you configure the view for a step:
- Open a case type in Case Designer.
- On the Life cycle tab, click an assignment or an approval step.
- Click Configure view.
- Add fields to your view in one of the following ways:
- Drag fields from the right pane.
- Click Add field.
- In the Layout tab, click Change Template.
- Select a design template.
- Reorder the field list by dragging the items between the regions.
- Click Submit.
Creating a design template
To create a template, follow these steps:
- Open a new section rule form by clicking .
- Enter the required details, and click .
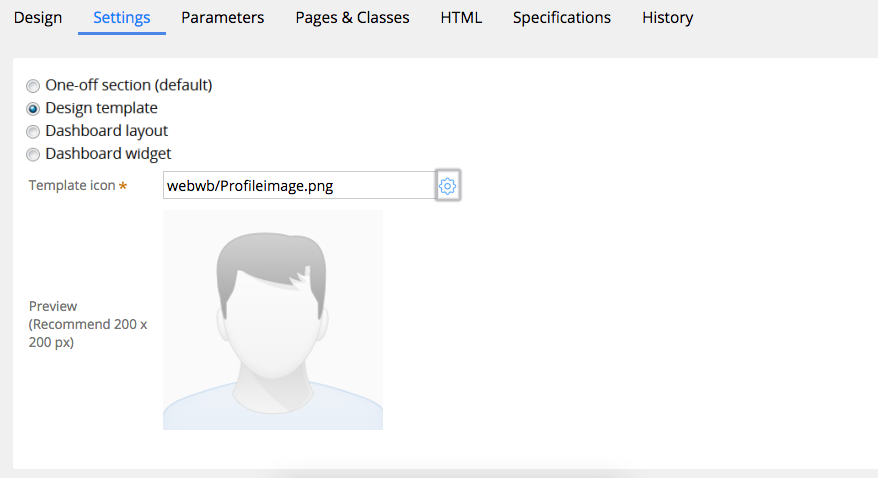
- On the Settings tab, select Design template.
- Select an icon to identify your template:
- Click the Gearicon next to the Template icon field to open the Image Catalog (a pop-up version of the Image Library landing page).
- Select the image file and click . The recommended icon size is 200 x 200 pixels.
- Design the layout. For more information, see Section Form - Completing the Design tab.
- Create template regions that act as a placeholder layout and can be customized for each section. Regions cannot contain any fields.
- Add a dynamic layout.
- In the Properties panel, under Design Template, select Use as a template region.
- Enter a name for the region.
- Save and close the template.
The following figure shows an example of a custom design template:

A sample design template
Creating sections with predefined layouts
When creating a section, you can use a design template instead of designing the layout in detail.
On the Section rule form, select the Create Section using a Design Template check box to apply a design template to your section automatically. For example, you can use the template that was created in the previous sections to create a section similar to the following one:

A section based on a design template