How to use the Signature Capture control
The Signature Capture control allows you to capture a user's signature both from a desktop application and within an app using the Pega 7 mobile application. Once a user has input a signature, it is added to the work item as an image attachment.
Configuring the Signature Capture control
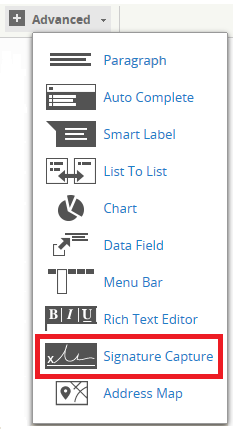
In Designer Studio, add the pxSignatureCapture control to a section or layout by selecting the Advanced dropdown, then selecting Signature Capture.
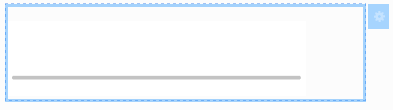
The control can be added within a cell in a dynamic or smart layout, to a section, or directly into a harness. Adding this control to a section or layout displays a static image of a gray line to indicate the location of the control.
Click  in the cell to open the Cell Properties dialog for the Signature Capture control. The General tab displays various configuration settings for how the map is displayed.
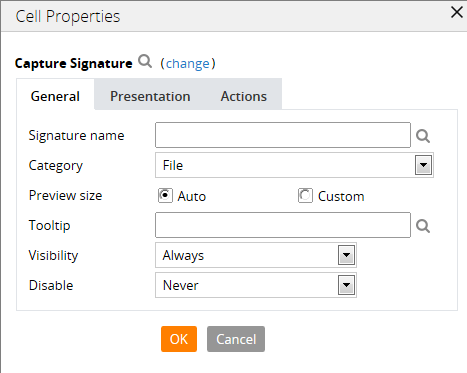
- Signature name - Set the name for this field as displayed to a user.
- Category - The format for how the signature will be saved (defaults to file)
- Preview size - Set the size of the preview display after a user has input a signature. Defaults to automatic; the custom field allows for height and width to be set in px.
- Tooltip - Set a tooltip to display on a hover action.
- Visibility - Select from the dropdown the conditions for whether the the map appears based on user input.
- Disable - Select from the dropdown the conditions for when to disable this field.
The Presentation tab allows you to include a label for this field.
The Actions tab allows you to set interactivity with this field through an action set.
Once finished configuring the control, click OK, then click Save in Designer Studio to apply these changes.