Listing case types and creating cases with the Connect SDK on iOS
This tutorial demonstrates how to configure and integrate the Connect SDK features with a new iOS application that was created in the Xcode development environment by using the Swift language. The tutorial explains how to use the Connect SDK Casetypes API to obtain a list of case types and create a case.
The tutorial contains the following sections:
Prerequisites
Before you start this tutorial, do the following tasks:
- Read Tutorial: Creating a Hello World iOS app with the Connect SDK, which demonstrates how to set up the Connect SDK in the Xcode environment, initialize it in the application, and use it to authenticate.
- Download the ZIP file, which contains the sample Swift code and other Xcode project files for the iOS app described in this tutorial.
You can connect to any Pega® Platform instance to test the sample iOS app. Make sure that it already includes some cases and assignments.
Obtaining case types
You can use the Casetypes API to obtain a list of case types for the authenticated user.
- In the Xcode environment, click and create a subclass of
UITableViewController. - Name the subclass
CaseTypesVC.This subclass is where all the logic that is related to obtaining case types is placed. It is linked to a separate scene of your application's user interface. This scene should be based on a template or be inherited from the class. - Declare a
caseTypesproperty to represent the obtained case types for this new class:var caseTypes = [PMCaseType]()
- Create the
getCaseTypes()method for theCasesTypesVCclass. Make a call to thegetAll()method of thecasetypesServiceConnect SDK object to obtain a list of available case types. When successful, this method returns a list of available case types in thecasesTypescompletion block parameter. The returned array is then referenced by the localcasesTypesproperty for theCaseTypesVCclass:func getCaseTypes() { PegaApi.shared.casetypesService.getAll { caseTypes, error in if let error = error { self.showAlert(with: error) } else if let caseTypes = caseTypes { self.caseTypes = caseTypes DispatchQueue.main.async { self.tableView.reloadData() } } } } - Override the
viewWillAppear()method for the class and call thegetCaseTypes()method so that thegetCaseTypes()method is called when theCaseTypesVCview is about to appear. Override important methods inherited fromUITableViewController: tableView(_:numberOfRowsInSection:), tableView(_:cellForRowAt:), tableView(_:didSelectRowAt:), prepare(for segue:sender:)so that the fetched case types are presented in theCaseTypesVCtable view cells. For a preview of the implementation, see the demo project.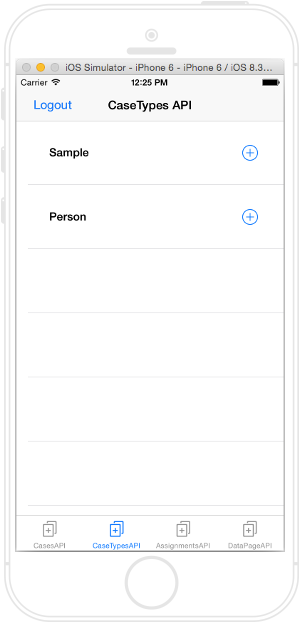
Case types list - CaseTypes API
Creating a case
The code developed in this section demonstrates how to create a case in your iOS application by using the Casetypes API of the Connect SDK.
- Click > > in the Xcode environment and create a subclass of
UIViewController. - Name the subclass
CreateCaseVC.This subclass is where all the logic for creating a case is placed. It is linked to a separate scene of your application's user interface. This scene should be based on a template or be inherited from another class. - Define the
caseTypeIDproperty. This is where the current case type is passed from the segue from theCaseTypesVCclass:var caseTypeID: String? - Create an action connection between the button in the CreateCaseVC scene of the application and the created
createCase()method. You can make a call to thecreateCase()method of thecasesServiceConnect SDK object to create a case in your application.@IBAction func createCase() { var content = [AnyHashable: Any]() if let key = keyTF.text, !key.isEmpty, let value = valueTF.text { content[key] = value } guard let caseTypeID = caseTypeID else { return } PegaApi.shared.casesService.createCase(caseTypeID: caseTypeID, processID: "pyStartCase", parentCaseID: nil, content: content) { caseRef, error in DispatchQueue.main.async { if let error = error { self.showAlert(with: error) self.resultTF.text = "Error occurred!" } else { self.resultTF.text = "Case created successfully!" } } } }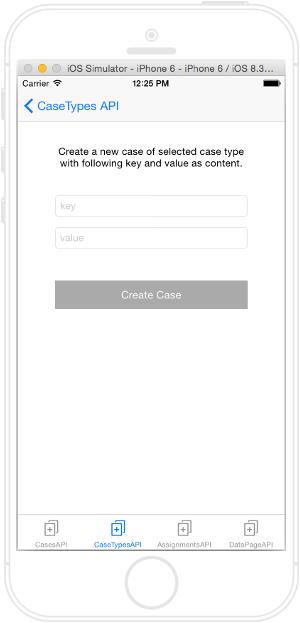
Create case - Case API