Presenting grid results
A grid is a type of repeating layout that presents data aligned uniformly into rows and presents columns in a spreadsheet format. Grids are highly efficient for displaying large data sets. The Pega 7 Platform provides features that you can use to organize grid results and present the specific information that users are looking for.
You can organize grid results in the following ways:
Sorting the results
Sorting orders columns alphabetically or numerically. In the following example, clicking the company name displays the sort icon, which points up. This indicates that the grid is sorted on the name in ascending order.
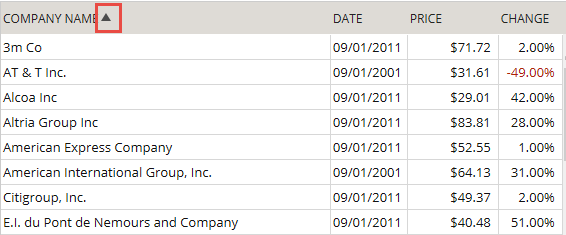
Example of sorted results — ascending order
To sort the results in descending order, click the company name again, and the sort order icon points down.
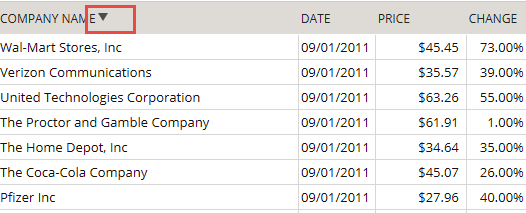
Example of sorted results — descending order
You can change the sorting on any field; the list is always refreshed and indicates the sorting field and the sorting order.
Configuring sorting
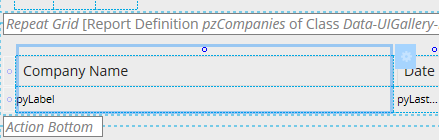
To control sorting for all the columns in a grid, click the Gear icon in the Grid Repeat Layout header.
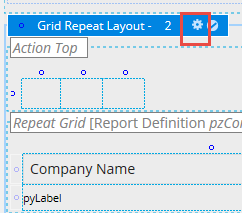
Gear icon on the Grid Repeat Layout header
On the grid layout properties panel,select the Allow column sorting check box on the Operations tab to enable sorting for the entire grid (enabled by default).
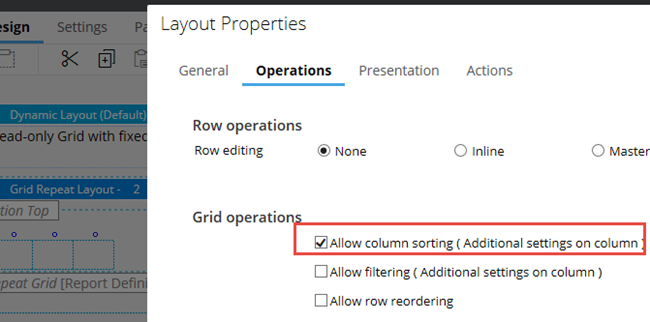
Enabling column sorting on entire grid
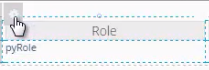
You can control sorting behavior for individual columns. For example, to disable sorting only on the Company Name column, click the Gear to open the column properties panel.
Open the column properties panel by clicking the Gear icon
Clear the Enable sorting check box to disable sorting only for this field.
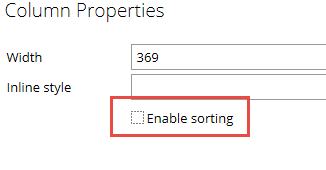
Disabling sorting in a column
Categorizing the results
You can categorize grid results based on one or more columns. In the following grid, each employee in the list is categorized by role and then by status (full time or part time). You can sort on any field that is part of the grid. When sorting on the column, the system sorts by the category.
In this example, the name is in descending order inside each category.
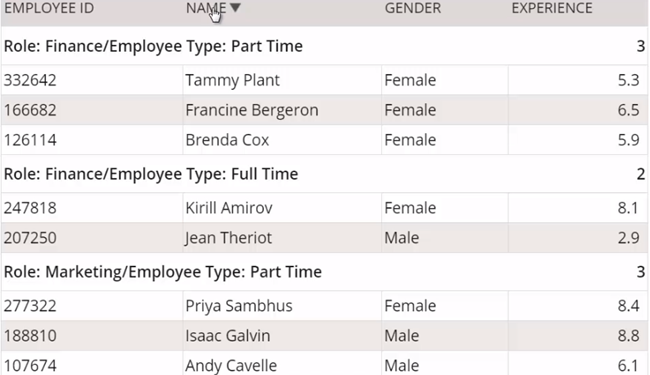
Example of categorized results
Configuring categorization
You enable categorization on the grid layout properties panel Operations tab. Categorization can be used in grids where row editing is disabled.
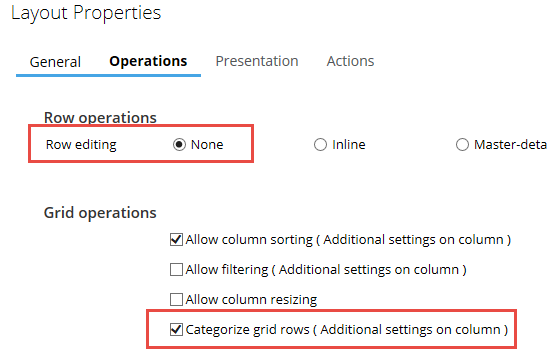
Categorization settings on the grid layout properties panel
To select a column that you want to use for categorizing, open the column properties panel.
Selecting a column to use for categorization
In the properties panel, click the Categorize by this column check box and select the category order.
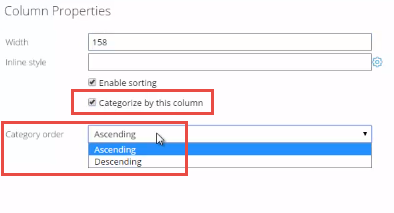
Settings for categorizing a column
Filtering the results
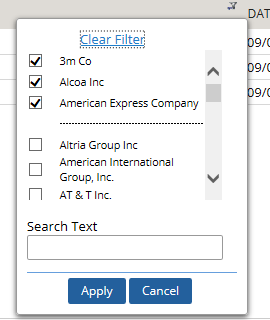
You can use filtering to narrow a search to a specific result from a long list of rows. When filtering is enabled,a filter icon is displayed next to the field. You can select a value or use the search feature.
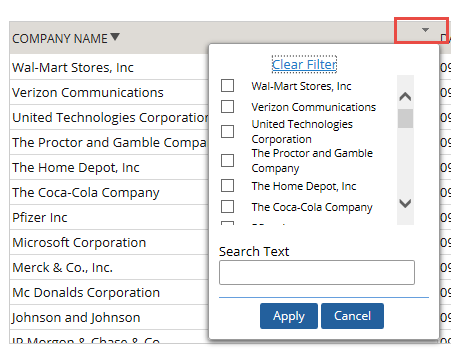
Example of text data type filtered results
Filtering is based on the data type. You can enter a keyword value in the Search Text field when searching on a text value such as Company Name, as shown in the preceding example.
When searching on numeric values, you can enter the actual value or a range of values. You can choose a range of dates by searching date values, or use one of the provided functions to make a selection that is based on current week, month, quarter, and so on.
Configuring filtering
You enable filtering on the repeating grid layout properties panel Operations tab.
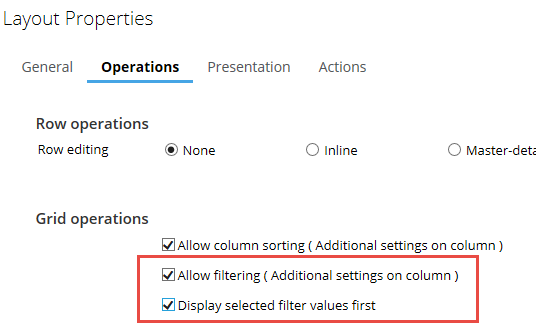
Grid layout settings to enable filtering
Selecting Display selected filter values first lists the filtered items at the top of the filter panel.
Example of results when the Display selected filter values first setting is enabled
You control the filtering behavior for each column by using settings in the column properties panel:
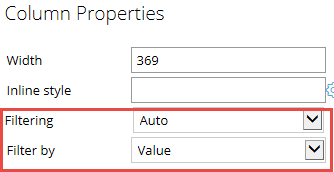
Settings for controlling column filtering behavior
The Filtering field has the following choices:
- Auto indicates that the field allows searching on both the values and the range.
- List Only limits the search to all values that are part of the property.
- Range/Search includes the options to search based on the range of values.
- None disables the filtering operation on that column.
The Filter by Field field defaults to Value and is the most commonly used.
Paginating the results
Sorting, categorization, and filtering features help narrow a search to specific rows when the number of records is large. However, pagination limits the total number of rows displayed in one view. Without pagination, the user form displays all the results on one page. Showing a few rows at a time, and then showing more as needed can improve the performance of the application.
You enable pagination on the grid layout properties panel General tab.
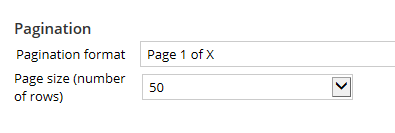
Pagination settings on the grid layout properties panel on the General tab
The Pega 7 Platform supports a variety of paging styles:
Page 1 of X pagination
This style presents records in pages. You navigate between pages by using the arrows to go to the next page or to the last page. Alternatively, you can enter a page number to go directly to that page.
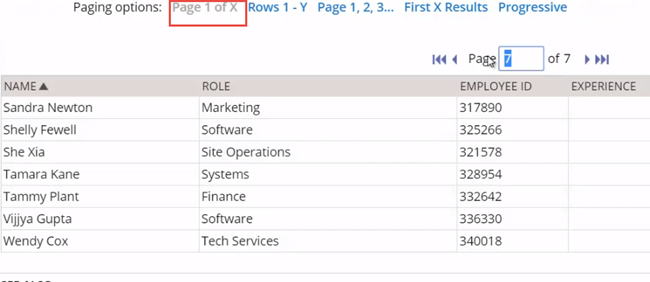
Example of Page 1 of X pagination
Rows 1 - Y pagination
This style groups the data based on the number of rows.
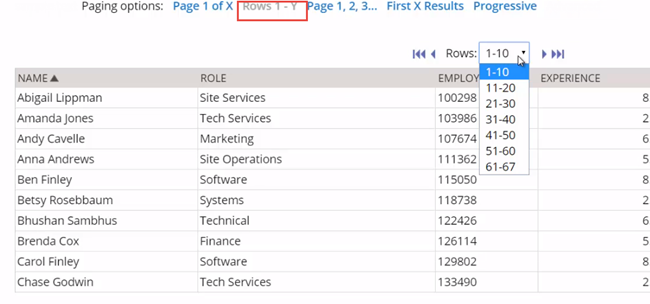 Example of Rows 1- Y pagination
Page 1, 2, 3, ... pagination
This style uses page numbers, which is similar to the arrows except that it uses the numbers or the Previous and Next links for navigation.
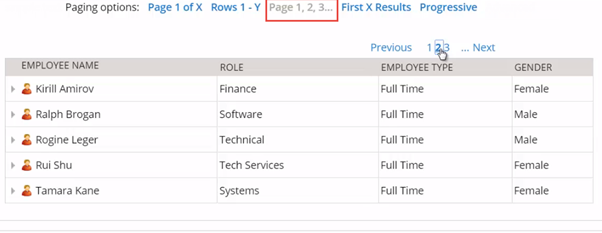 Example of Page 1, 2, 3, ... pagination
First X Results pagination
This style displays only the first few records based on the number entered. In this example only the first five results are displayed. To see all the rows, click Show All.
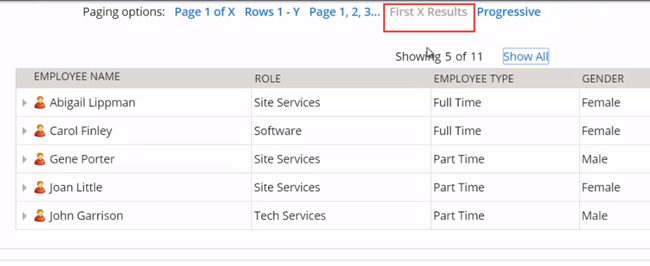 Example of First X Results pagination
Progressive pagination
This style offers performance improvements by rendering only those results that are requested. Progressive pagination renders all results on one page. However, it populates only the number of rows requested. In the following example, 10 rows are displayed. To see additional records, scroll down. The system repopulates the results as the rows are scrolled.
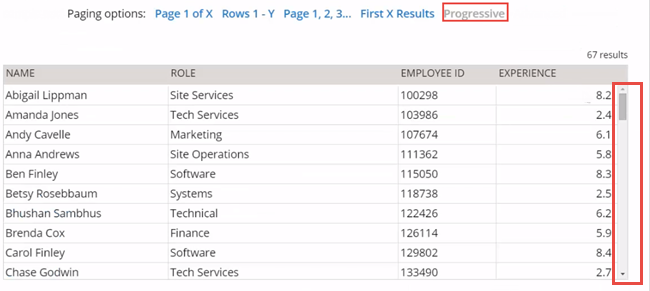 Example of Progressive pagination